

Switching to a shampoo bar can feel a bit different at first, but once you get the hang of it, you’ll forget all about the plastic-bottled alternatives!
I’ve been using shampoo bars consistently since at least 2019, so here’s my simple, step-by-step guide to using a solid shampoo — perfect for getting clean hair without the plastic waste.
Why choosing the right bar (really) matters
If you’ve already tried a shampoo bar before and you had disappointing results, it’s probably the bar that’s wrong, not your technique.
If the bar left your hair feeling waxy, greasy or like you never even washed it, you’ve likely tried a “natural shampoo bar” (which is actually more like a soap bar).
You may have been told you just need to transition to the natural shampoo. Based on trying that for over a year, my opinion is that it’s a waste of time (and water). Instead, you need a shampoo bar that actually works.
Pro tip: check the bar’s ingredients. For reliable and consistent results, choose a bar with a gentle cleansing ingredient—such as sodium coco sulphate, sodium cocoyl isethionate, sodium cocoyl glutamate.
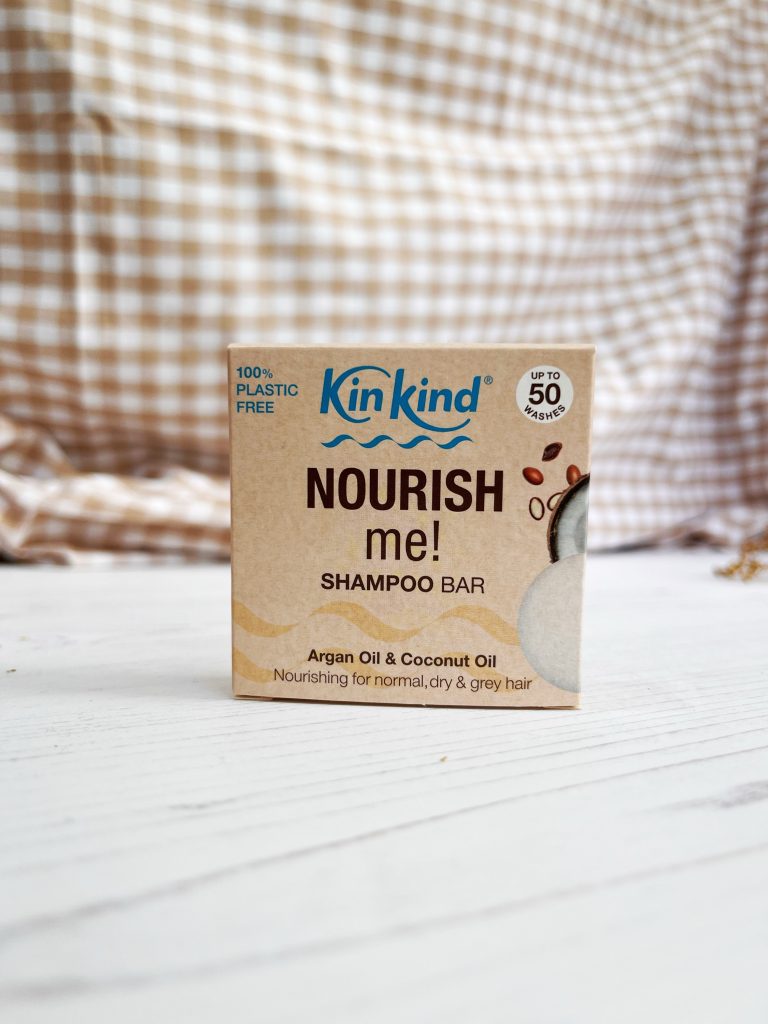
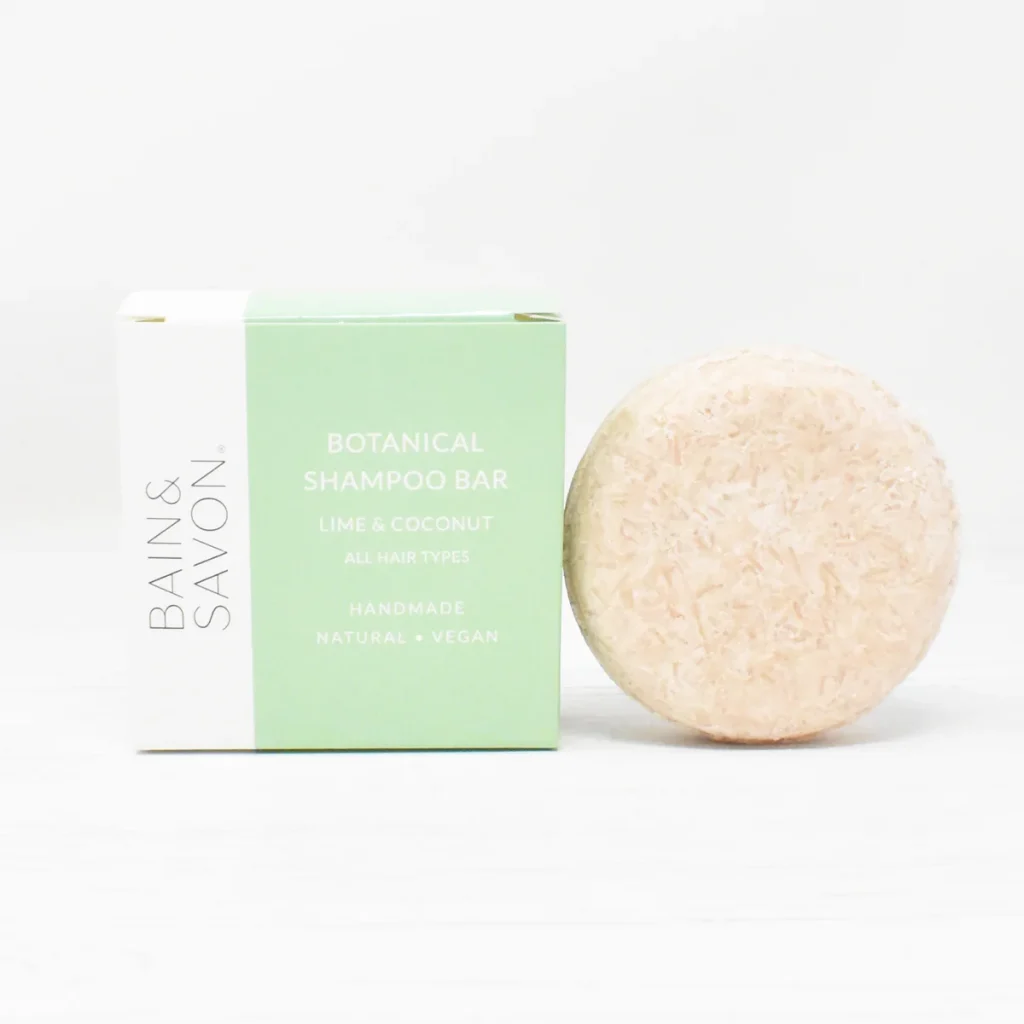
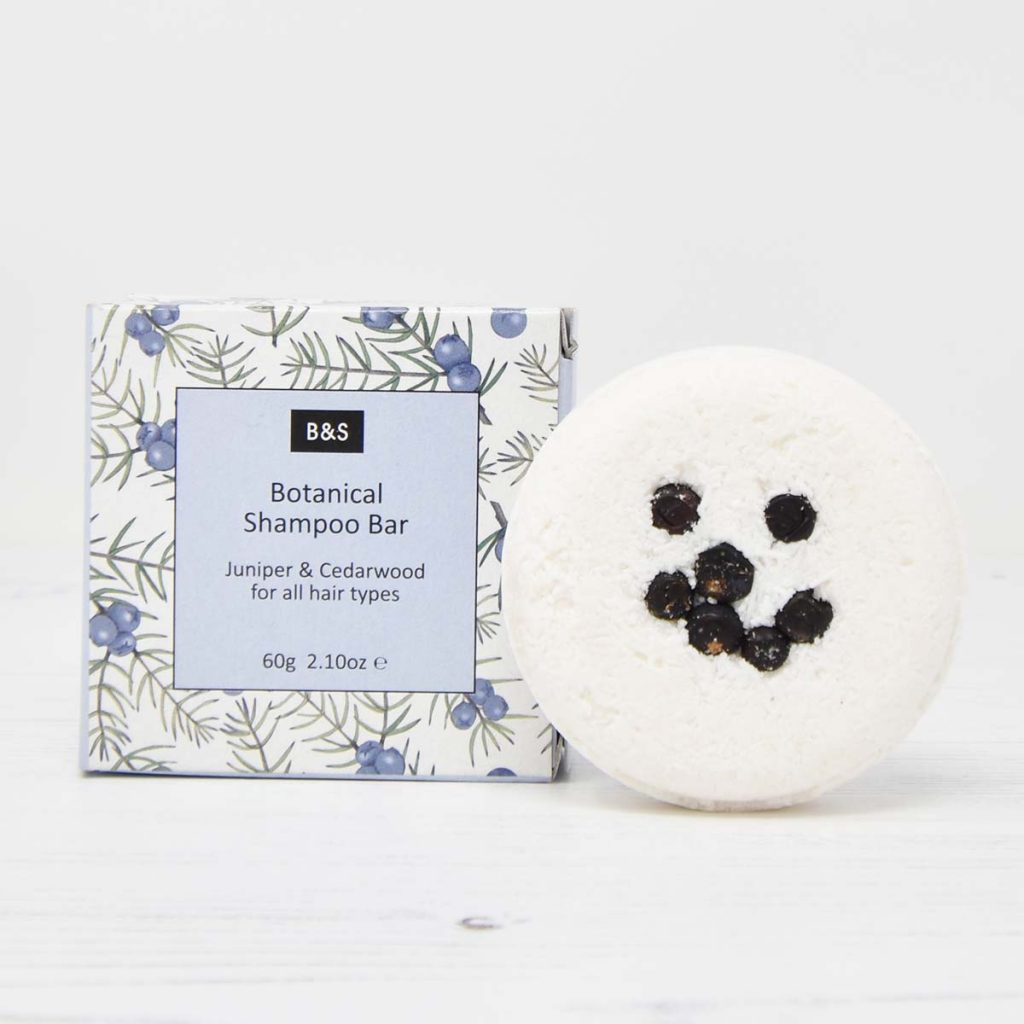
Great bars for beginners

Step-by-step guide to using a shampoo bar
Step 1: Wet your hair thoroughly
Ensure your hair is completely soaked through before using your shampoo bar. This will make it much easier for the bar to create a lather in your hair — plus rubbing a shampoo bar on hair that isn’t wet enough really isn’t much fun.
Step 2: Wet the shampoo bar
Hold the shampoo bar under the running water for a few seconds and rub it between your hands to create a lather—as you would when washing your hands with a bar of soap.
Shampoo bars are more concentrated/ have a much lower water content than bottled shampoo, which is why they need some initial moisture to “activate” them.
Step 3: Apply the lather to your hair
Rub the lather from your hands into your scalp. If you’ve got lots of/ thick hair you may want to also rub the bar directly on your roots and the crown of your head. This will create a richer shampoo lather and help it distribute across your scalp better.
Step 4: Massage into your scalp
Use your fingertips to massage the lather into your scalp in circular motions. This helps lift dirt and give your scalp a thorough clean.
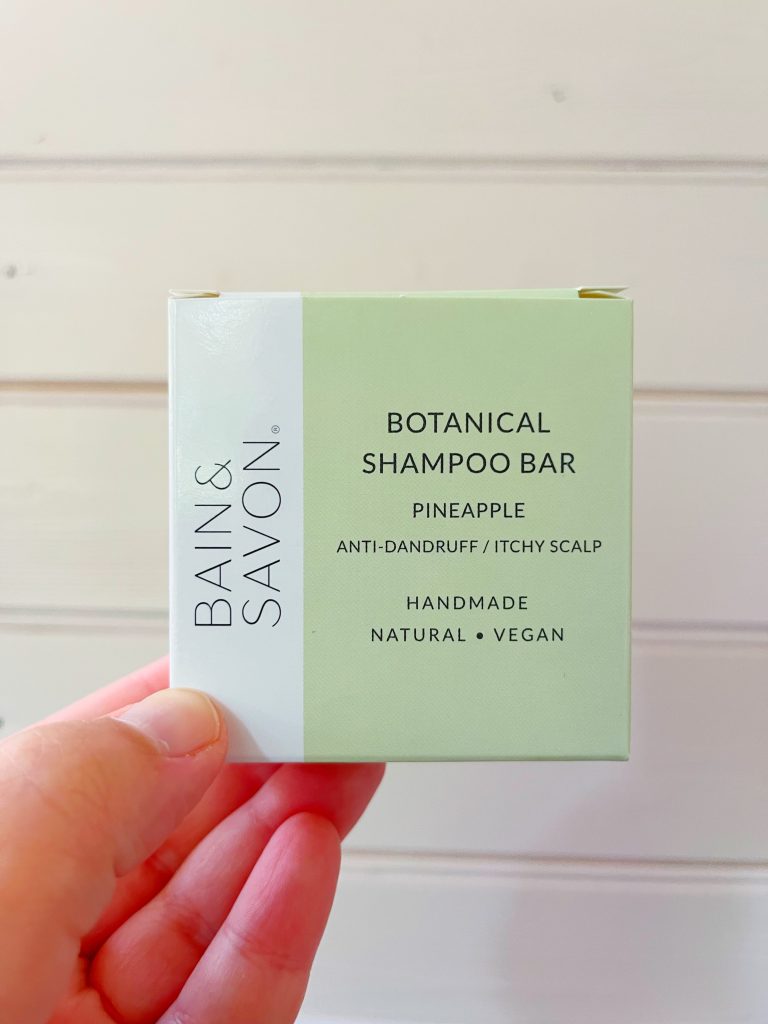
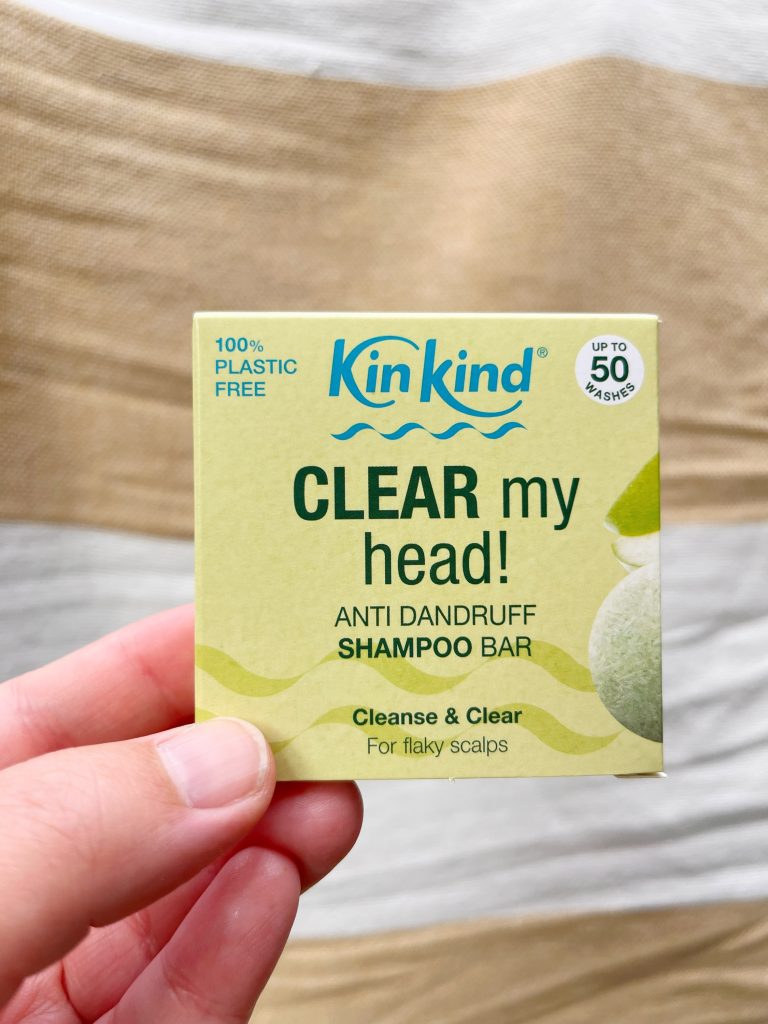
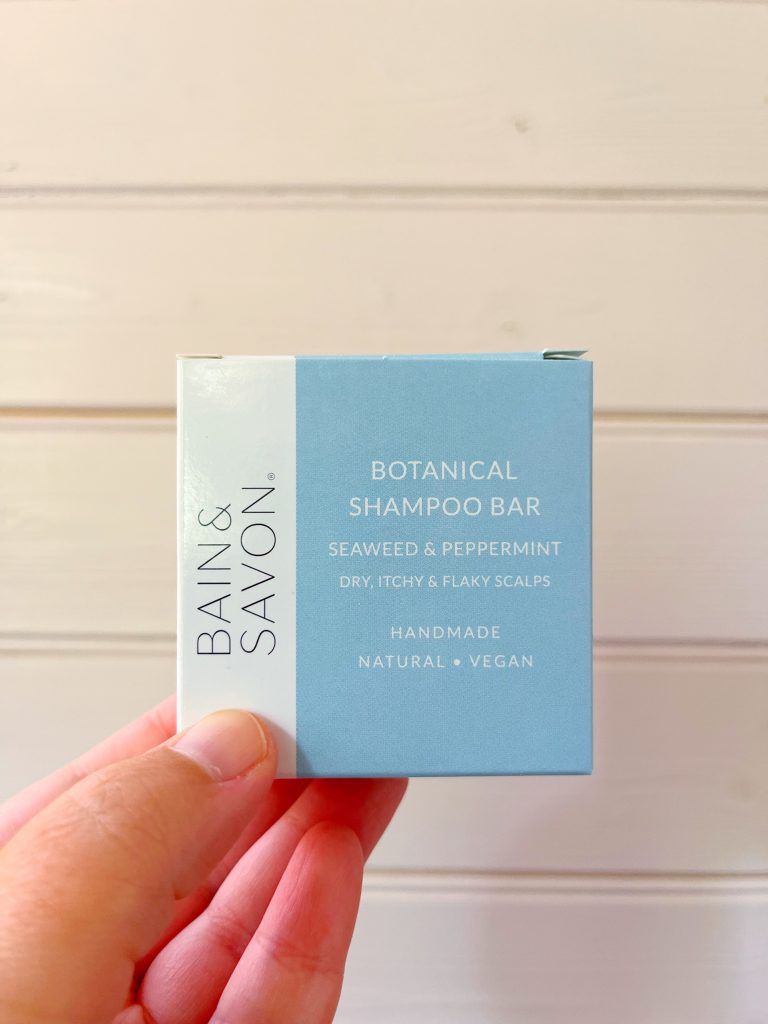
Pro tip: If you struggle with a flaky scalp or dandruff, try one of these itchy scalp bars and ensure you’ve really worked the lather into your roots and scalp.
Itchy scalp bars
Step 5: Work the lather through the length of your hair
If your hair is shoulder-length or below, you’ll want to work the shampoo lather all the way down the length of your hair to the ends. My personal method is to roughly part my hair in two and rub the bar along the length of my hair. I’ll then use both hands to ensure the lather is fully distributed.
Step 6: Rinse thoroughly
Rinse out all the shampoo, until your hair feels clean and free of lather. Make sure no suds are left behind.
Next steps
Apply a conditioner
If you condition as part of your wash routine, you can use a conditioner bar after washing with solid shampoo.
Rub the conditioner bar between your hands to warm it up a little and then glide the bar along the mid-lengths and ends of your hair. I like to leave it for a few minutes before rinsing it out.
Dry and style as usual
Once you’ve finished washing and conditioning your hair, you can dry and style it in the same way as you normally would.
Getting the most out of your shampoo bar
Shampoo bars can last as long as (or even longer than) bottled shampoo if stored correctly. It’s crucial to allow your shampoo bar to air dry between uses, as it doesn’t have any plastic packaging to keep it dry.
Store it on a soap rack or dish away from moisture (i.e. not in your shower) to prevent it from going mushy and dissolving.